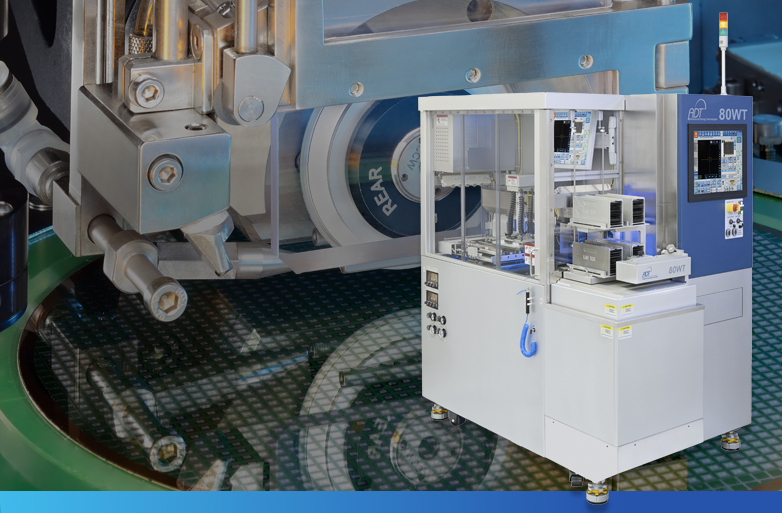
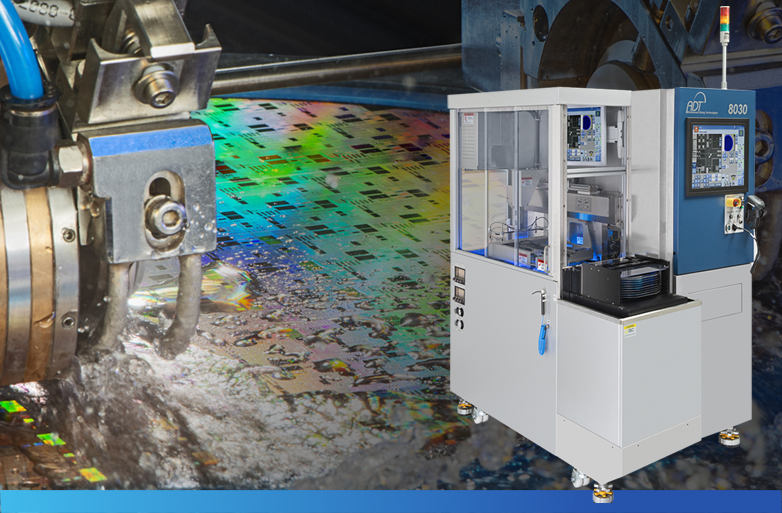
1. Cleaning the flange parts. Use Lint-free paper and Alcohol based solvent
2. Blade mounting on the front flange
3. Back flange mounting
Slide back flange on top of the front flange until fits into place
4. Bushing mounting
Parts may need a slight movement to allow insertion of the bushing into both, front and back flanges
5. Flip over the flange for nut assembly
6. Mount the flange assembly onto the mounting base
The bushing pins have to match the holes in the base
7. Install and tighten the flange nut by using the Torque meter and the Nut adaptor
8. Torque the nut on the flange
Copyright © ADT – Advanced Dicing Technologies, 2025
ADT – a leading developer & global supplier of high-performance Dicing Solutions, including Dicing Saws, Dicing Blades, Dicing Peripherals, and a complete range of Accessories — engineered for precision, built for excellence.
Design Maxmark